

Prerequisites
- iOS 15.0+ deployment target
- Swift 5.9+
- A Sezzle merchant account with your Public API Key
- A backend server to capture payments after checkout
1. Installation
- Swift Package Manager
- CocoaPods
- In Xcode, go to File > Add Package Dependencies
- Enter the repository URL:
- Select Up to Next Major Version from the latest release
- Add
SezzleMerchantSDKto your target
2. Configuration
Initialize the SDK once at app startup in yourAppDelegate:
3. Promotional Messaging
Add aSezzlePromotionalView to your product page to display installment pricing:
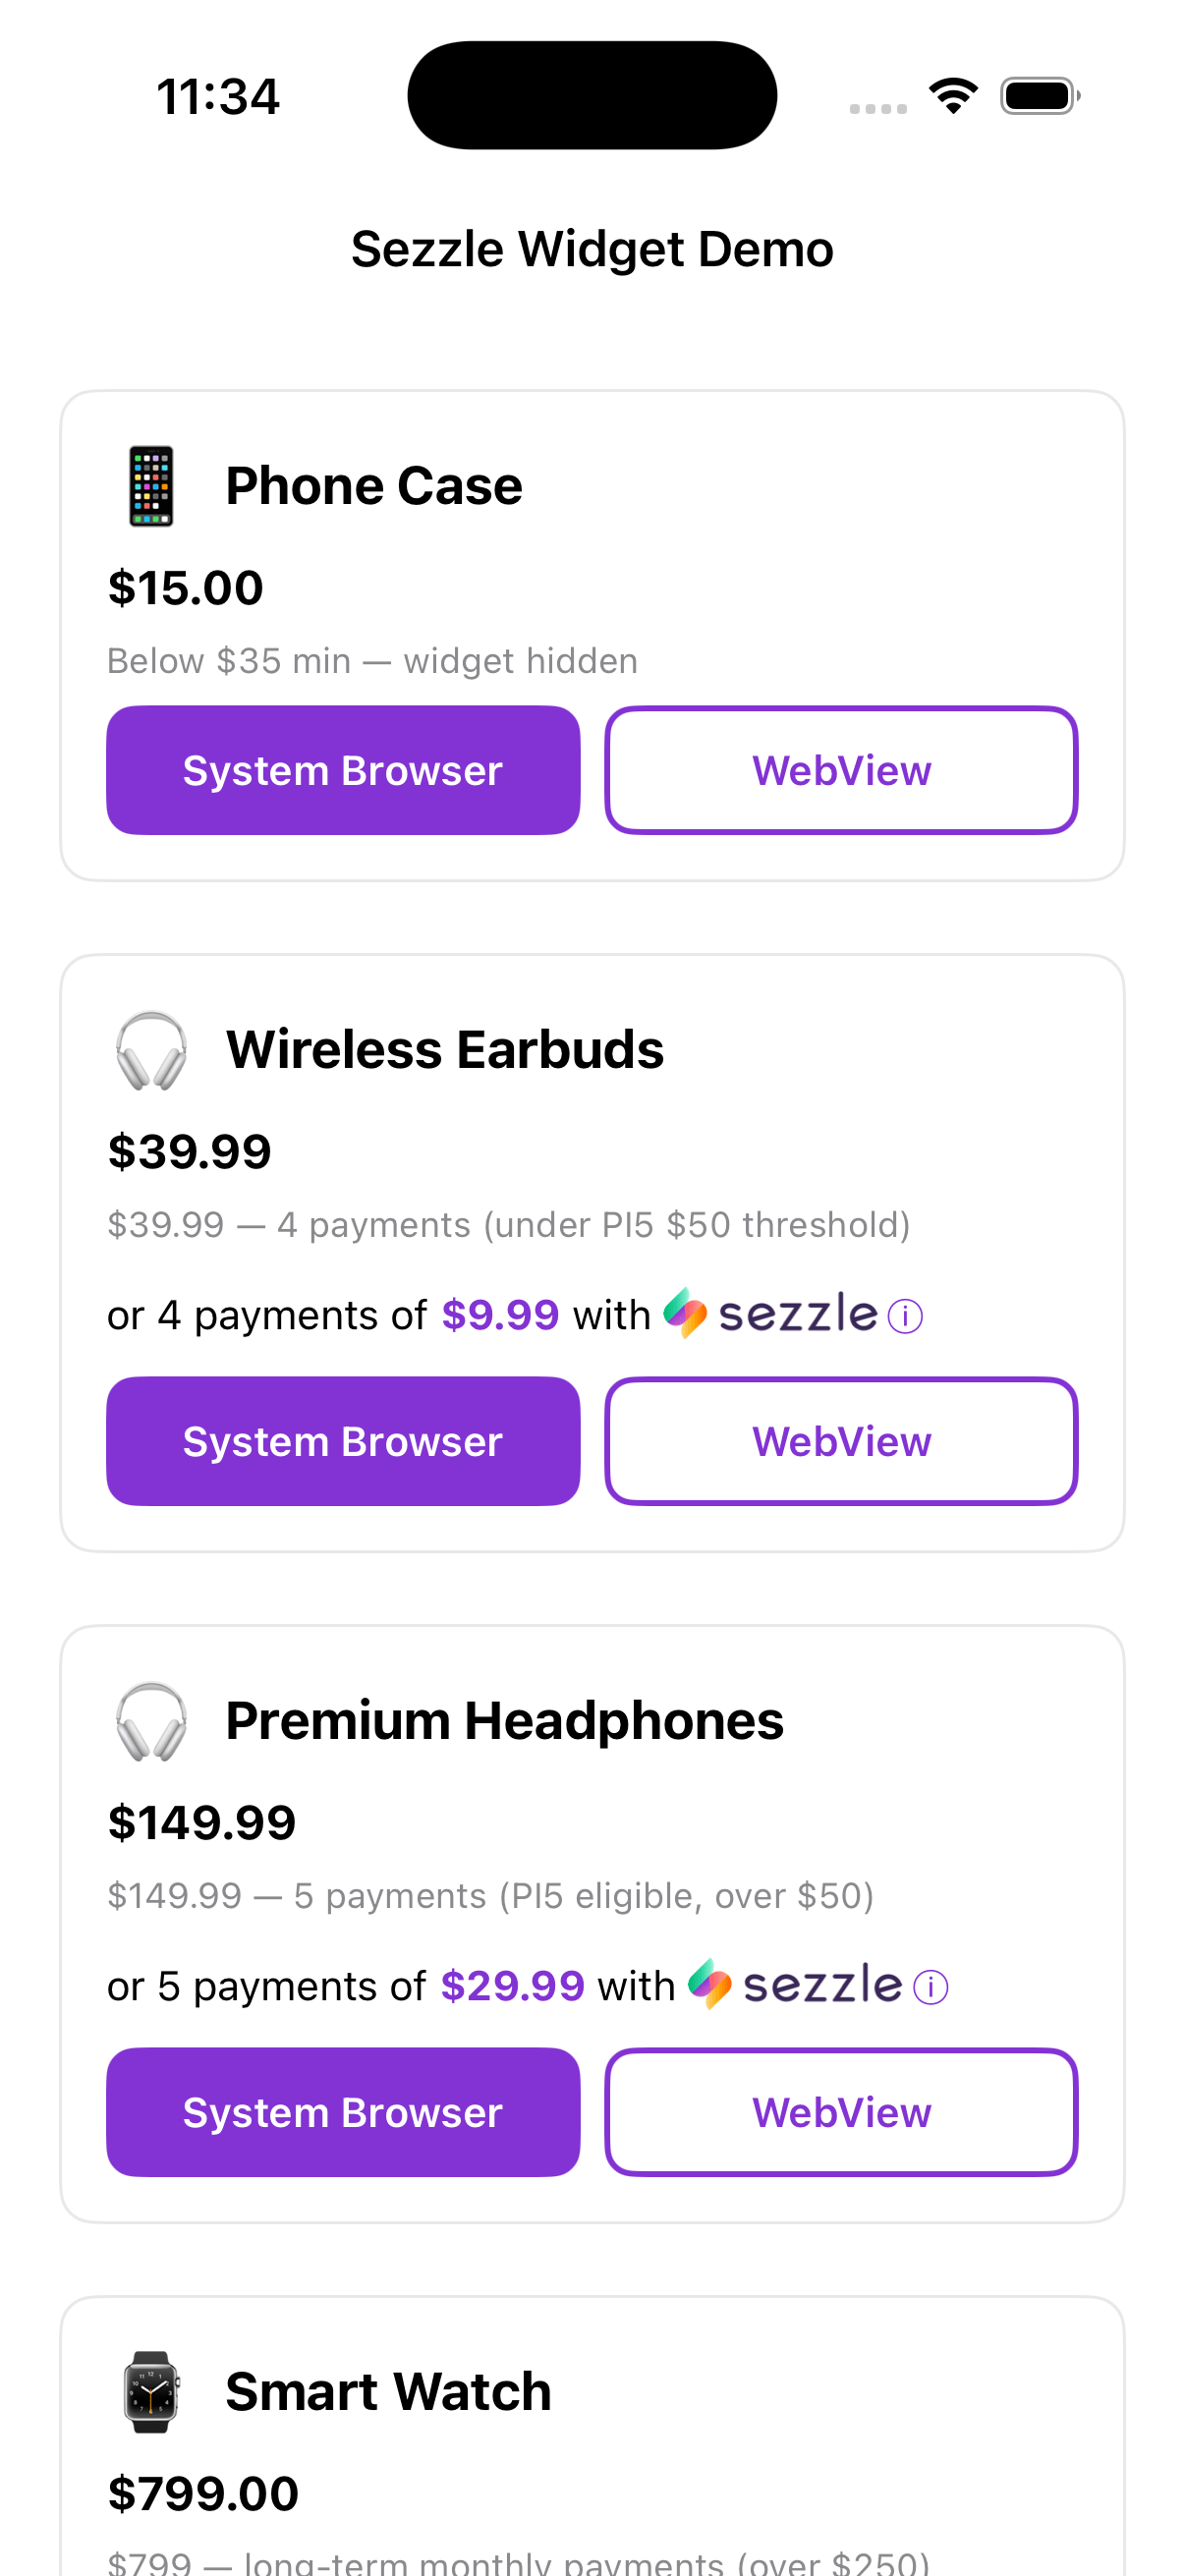
Promotional widgets at different price points
All Parameters
Widget Configuration
All config parameters are optional — the widget works out of the box with sensible defaults:
To customize, pass only the values you want to override:
Custom Promotional Text
If you need full control over the UI, useSezzlePromoDataHandler to get a styled NSAttributedString with the Sezzle logo inline:
4. Checkout
Build the Checkout Object
Customer Fields
Order Fields
Address Fields (SezzleAddress)
Start Checkout
Handle the Result
Conform toSezzleCheckoutDelegate:
After
checkoutDidComplete, send result.orderUUID to your backend server. Your server should call POST /v2/order/{orderUUID}/capture using your private API key to capture the payment. See the Orders API for details.5. WebView Mode
By default, checkout opens inASWebAuthenticationSession (system browser). To keep the user inside your app, use WebView mode:
- System Browser (Default)
- WebView


Multi-user devices — clearing Sezzle session on logout
iOS’sWKWebsiteDataStore.default() is a single app-wide persistent store inherited by every WebView with the default configuration. Cookies set during one user’s .webView checkout (auth tokens, session identifiers) persist across users on the same device — so if your app supports multiple users (e.g. a logout/login flow on a shared device), the next user’s first BNPL attempt can resume the previous user’s Sezzle session and surface their state (credit-limit decline, etc.) to the wrong customer.
Starting in 1.2.2, call SezzleSDK.shared.clearWebViewData() from your logout flow to clear Sezzle’s cookies and Web storage before the next user signs in:
.systemBrowser mode shares cookies with Safari via ASWebAuthenticationSession and is unaffected — if your users need to clear those, they should clear them in Safari itself.
6. Dark Mode
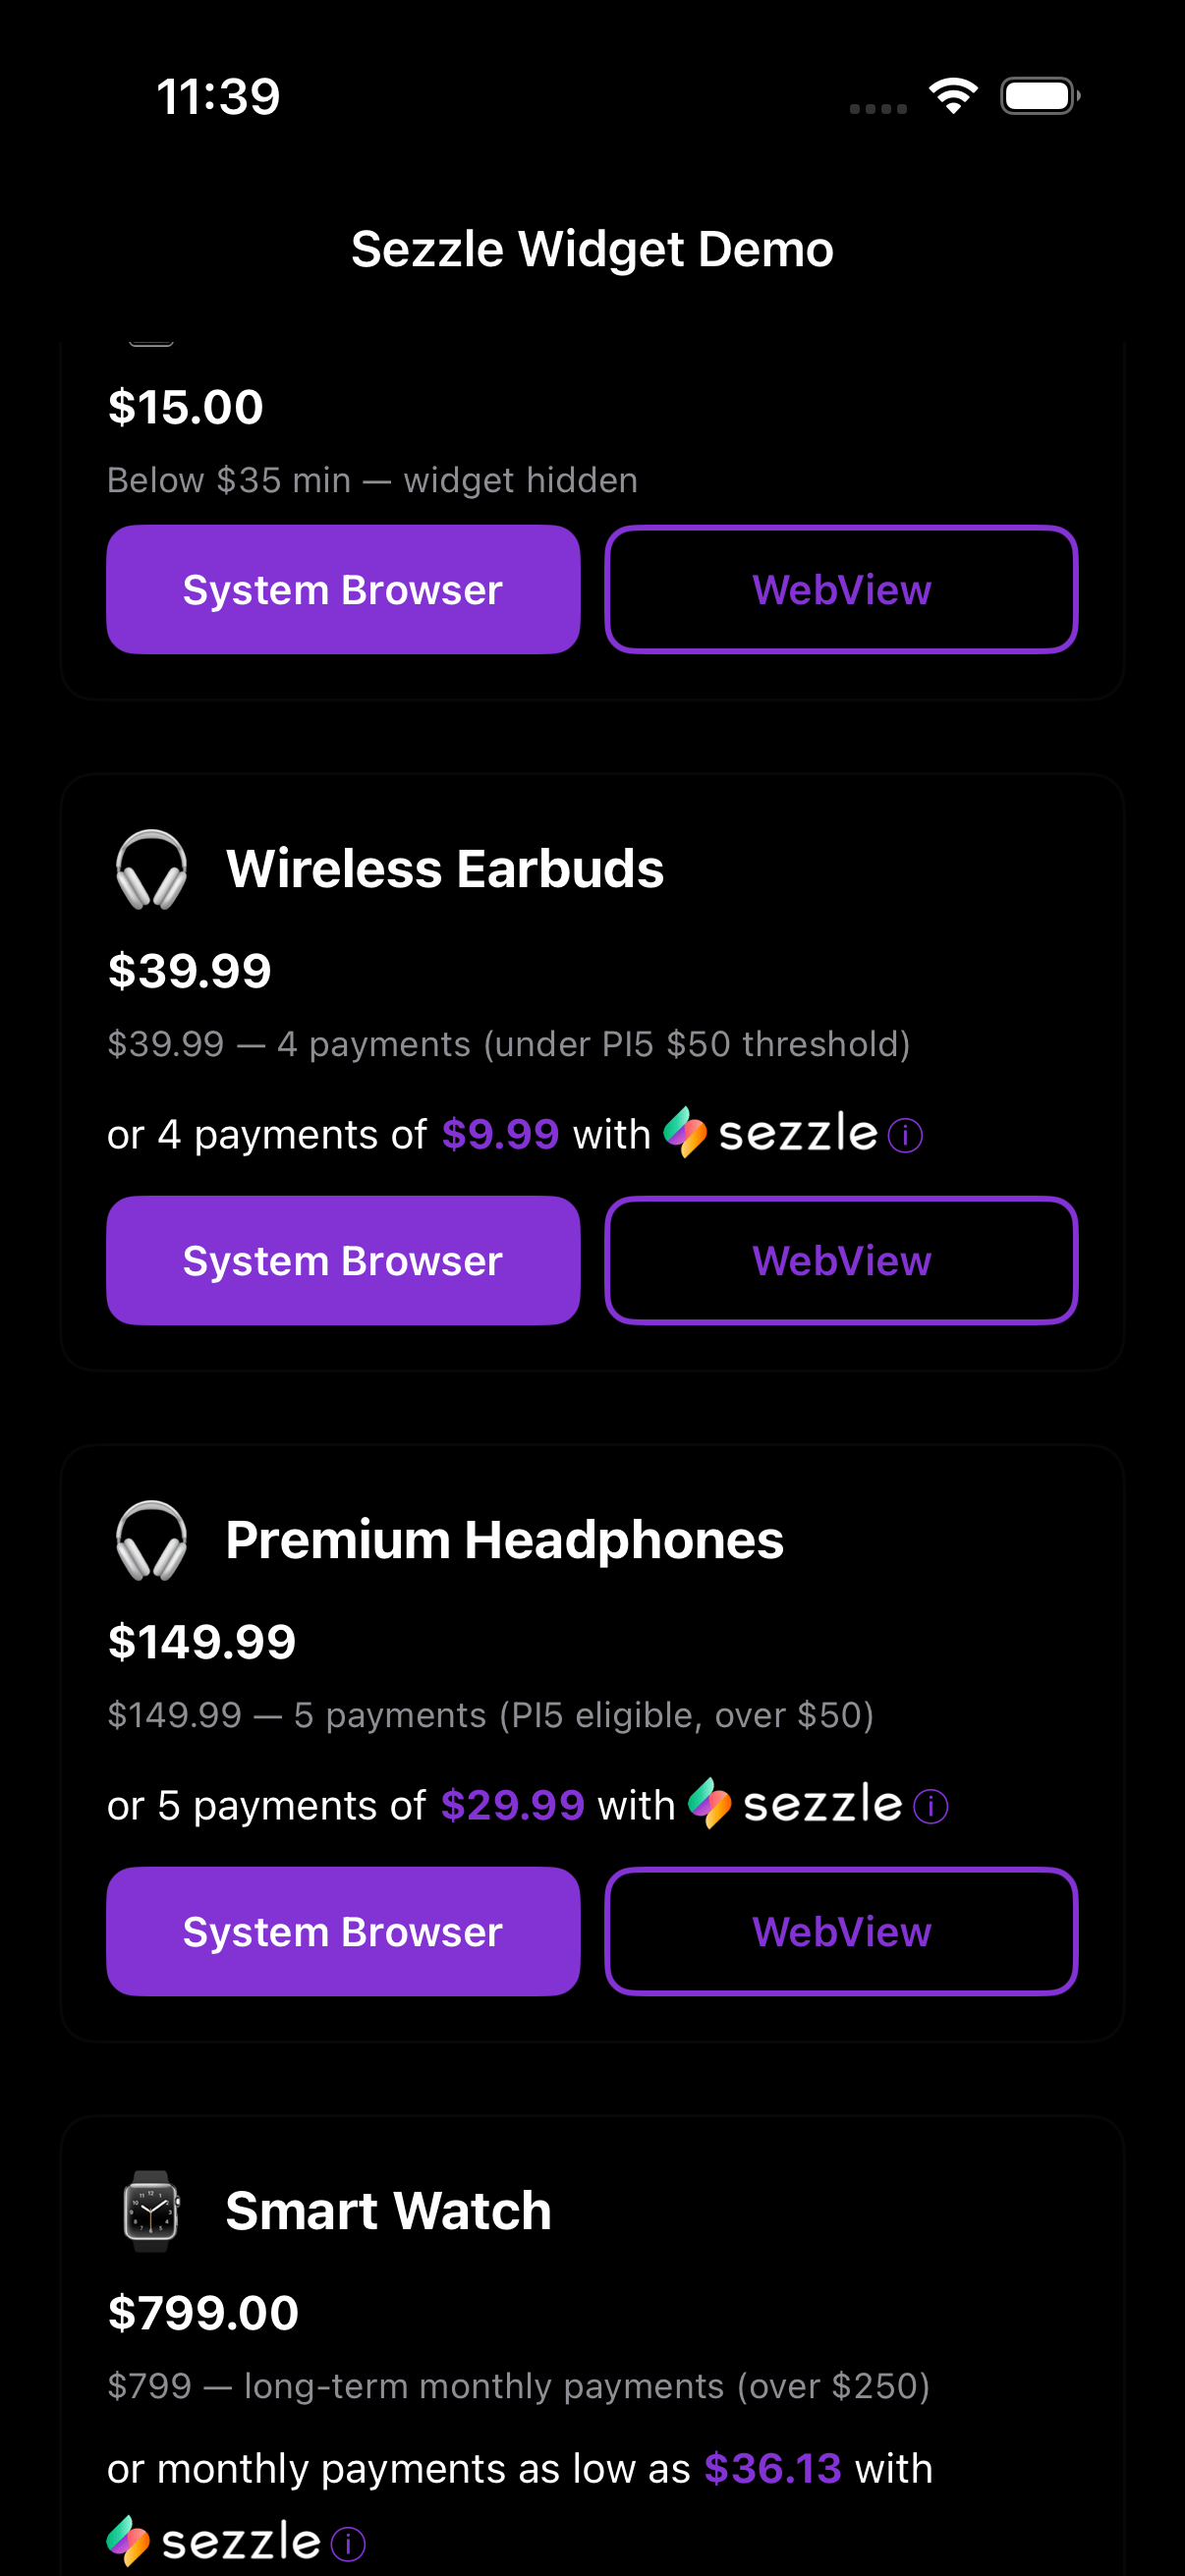
The SDK automatically adapts to the device’s appearance setting. The promotional widget, installment modal, and checkout modal all support dark mode.- Light
- Dark
7. Error Handling
All errors are delivered viaSezzleCheckoutDelegate.checkoutDidFail(error:):
8. Server-Driven Integration
For larger merchants who prefer a fully server-driven integration — no public key on-device, with the backend owning session creation, capture, and refunds — use the alternativestartCheckout overload introduced in 1.2.0.
How it works
Your backend creates the checkout session viaPOST /v2/session with merchant-chosen callback URLs, then hands order.checkout_url plus those URLs to the app. The SDK opens the URL, intercepts navigation to your callback URLs, and reports back via SezzleCheckoutDelegate.checkoutDidComplete(result:) with the full callback URL — so you can encode your own state in the query string and recover it on completion.
Step 1 — Backend creates the session
Pick any callback URLs you want — a custom scheme likeyourapp-sezzle://... or HTTPS deep links. You can encode state in the query string (e.g. yourapp-sezzle://done?orderRef=12345) and recover it from the SDK callback.
Persist order.uuid server-side; the app only needs order.checkout_url plus the two callback URLs.
Step 2 — App presents checkout
SezzleSDK.shared.configure(publicKey:) is not required for this flow — there’s nothing for the SDK to authenticate.
Step 3 — Read the result
Notes
ASWebAuthenticationSessionrequires a custom URL scheme for the callback (callbackURLScheme:parameter). HTTPS callbacks aren’t accepted by the auth session API. For HTTPS-based deep links (e.g. backed by Universal Links), use.webViewmode — it intercepts navigation directly viaWKNavigationDelegateand works with any scheme.- Match your URLs. Whatever your backend passed as
complete_url.href/cancel_url.href, pass the same URLs tostartCheckout. The SDK matches on scheme + host + path; query params on the inbound URL are read by you. order.uuidlives on your server. It’s not in thecheckout_urland isn’t echoed back — your backend already has it from the session-creation response.