Install the Sezzle Lightspeed App
- Log in to your Lightspeed back office
- Navigate to
Apps>App Store - Search for
Sezzlein the search bar and click on the Sezzle app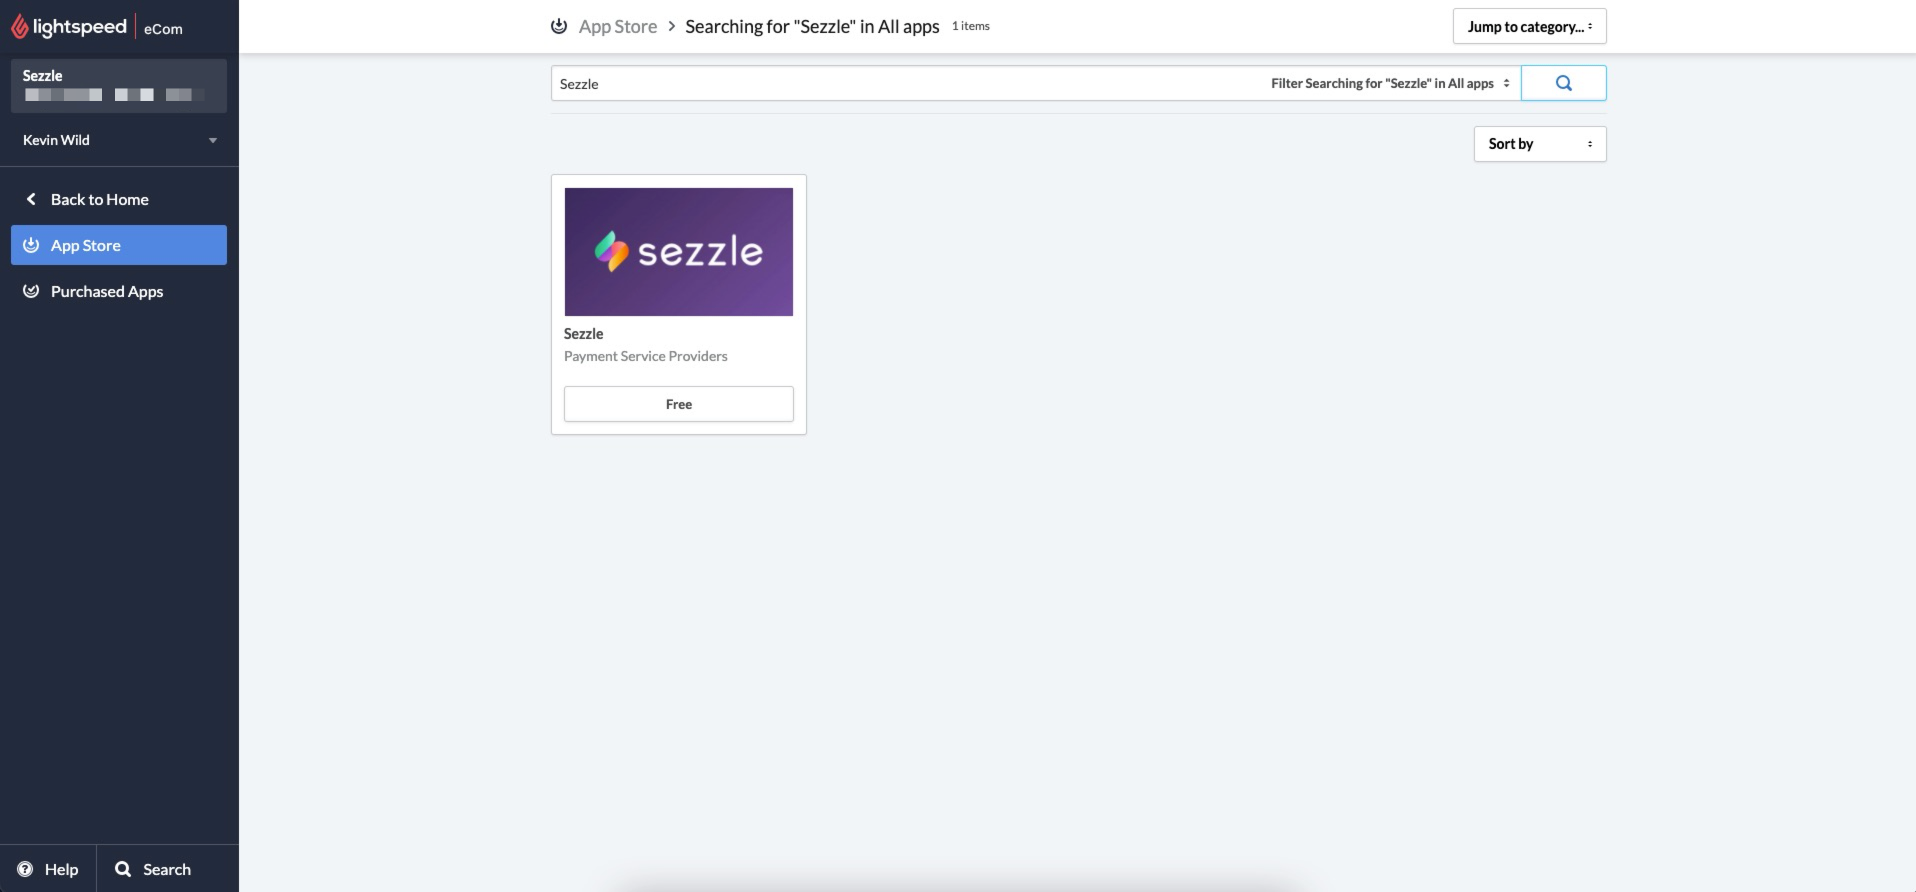
- Click
Install Appin the top right corner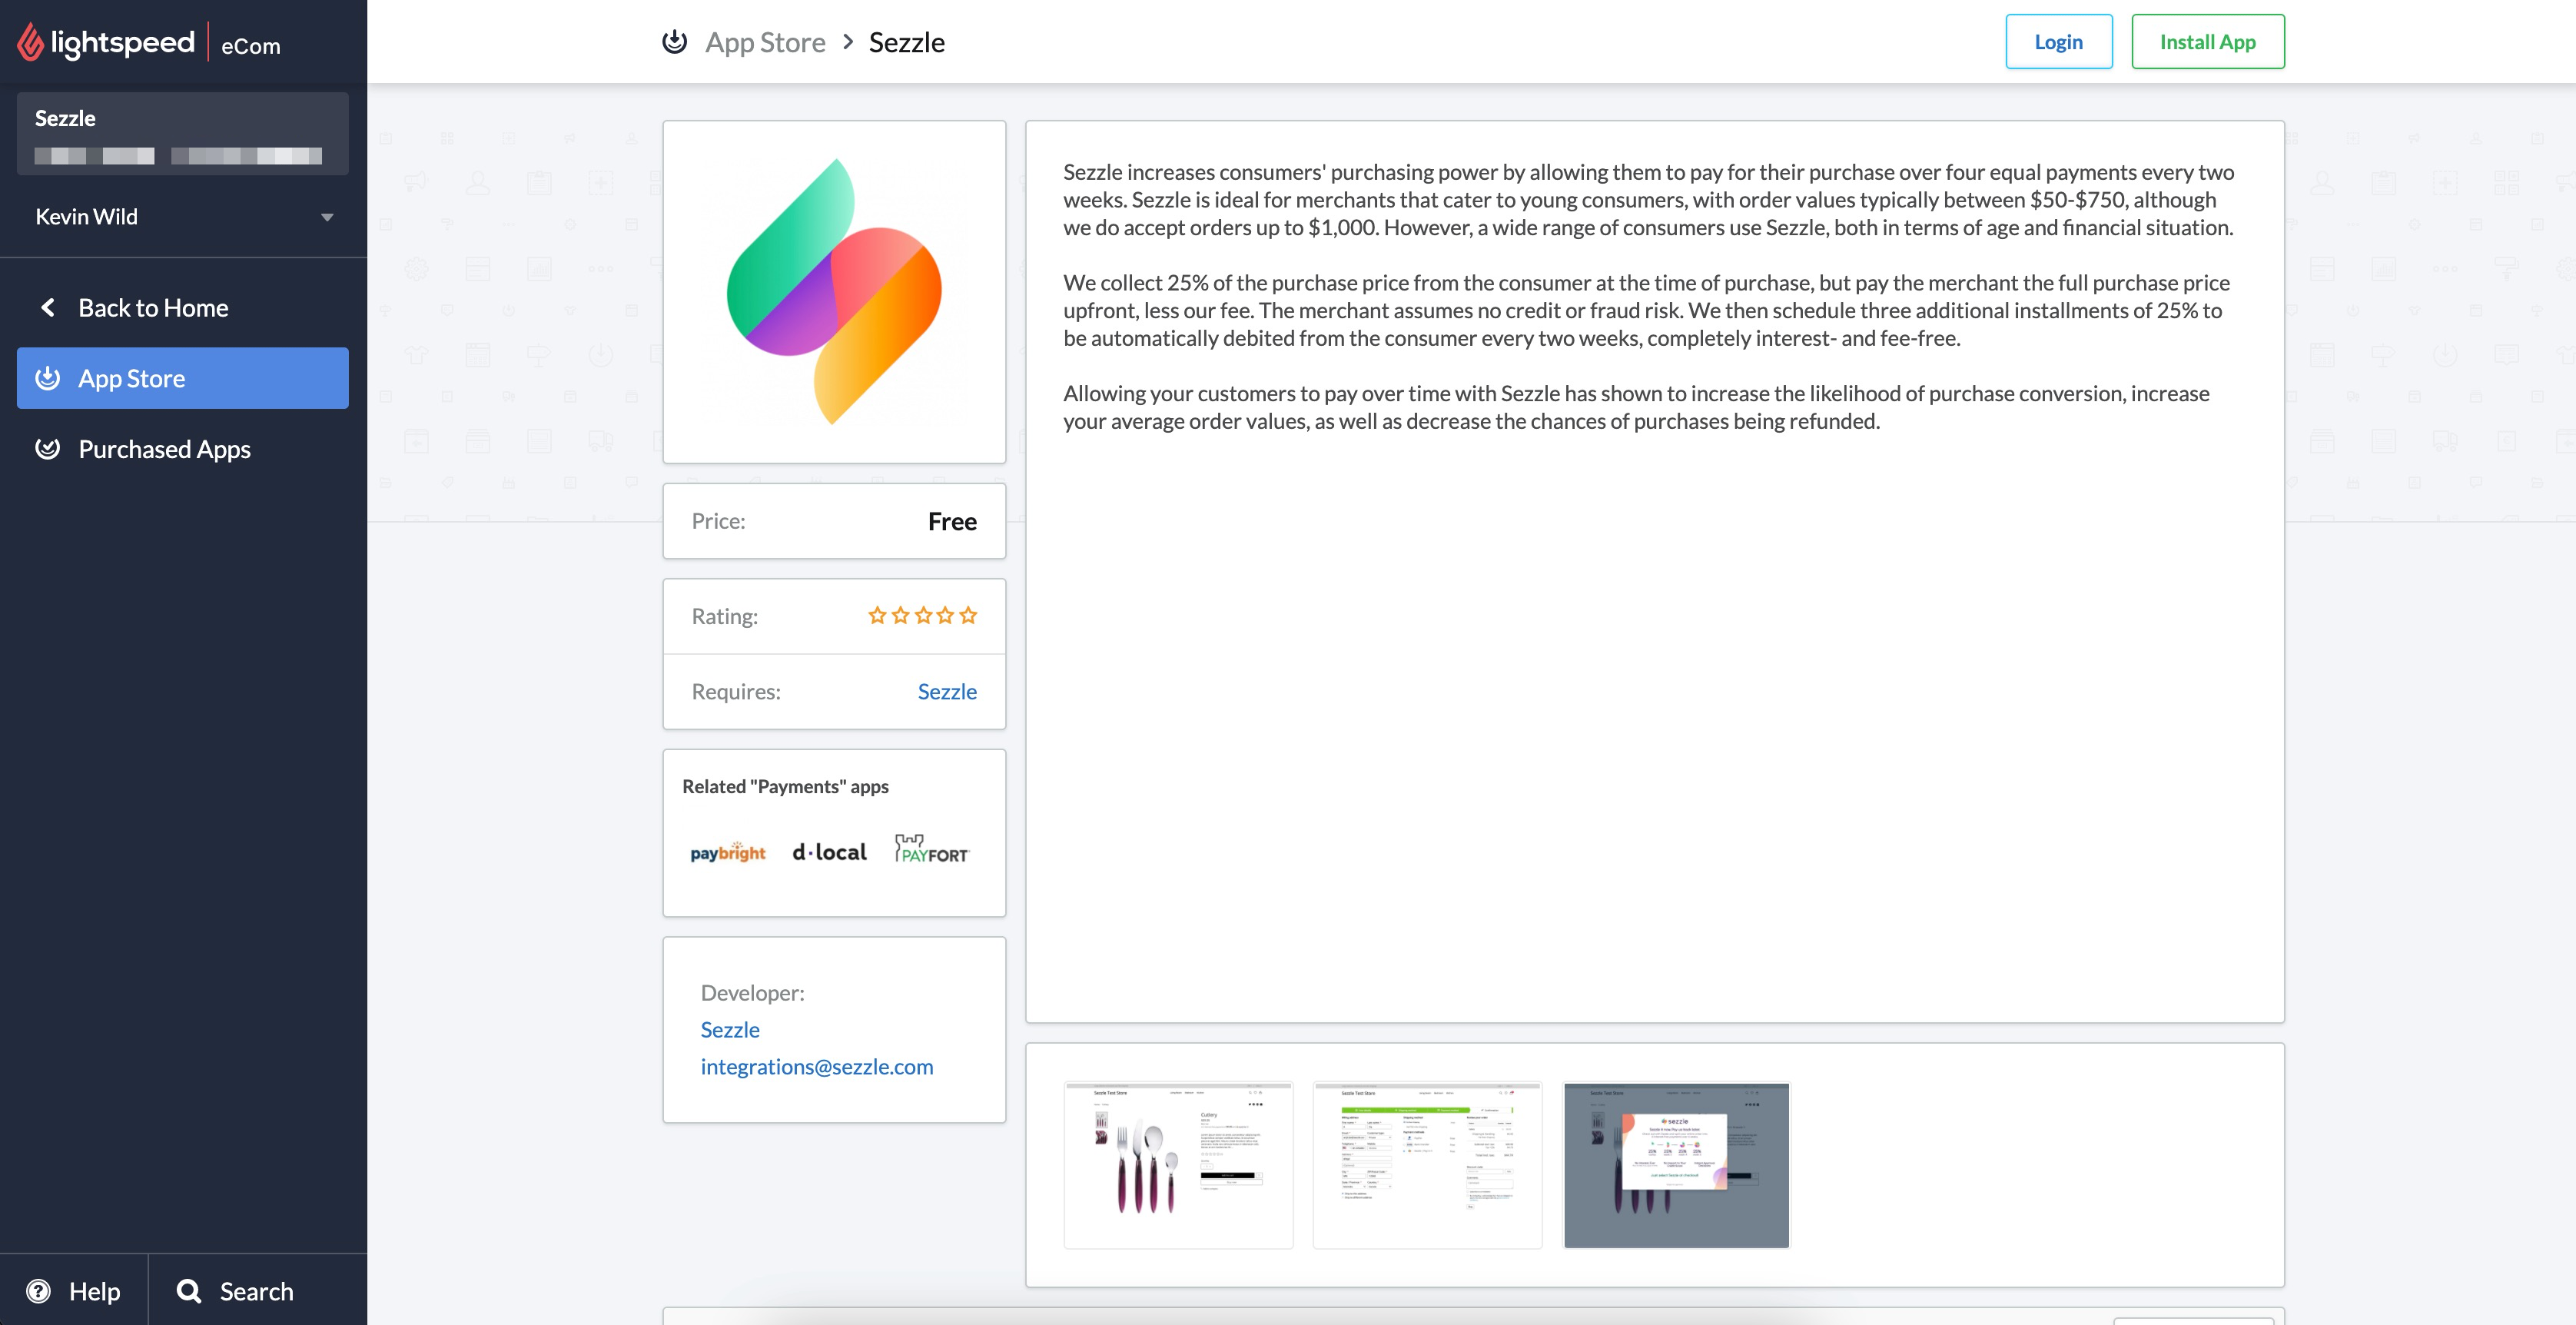
- On successful install, you will be redirected to Sezzle App
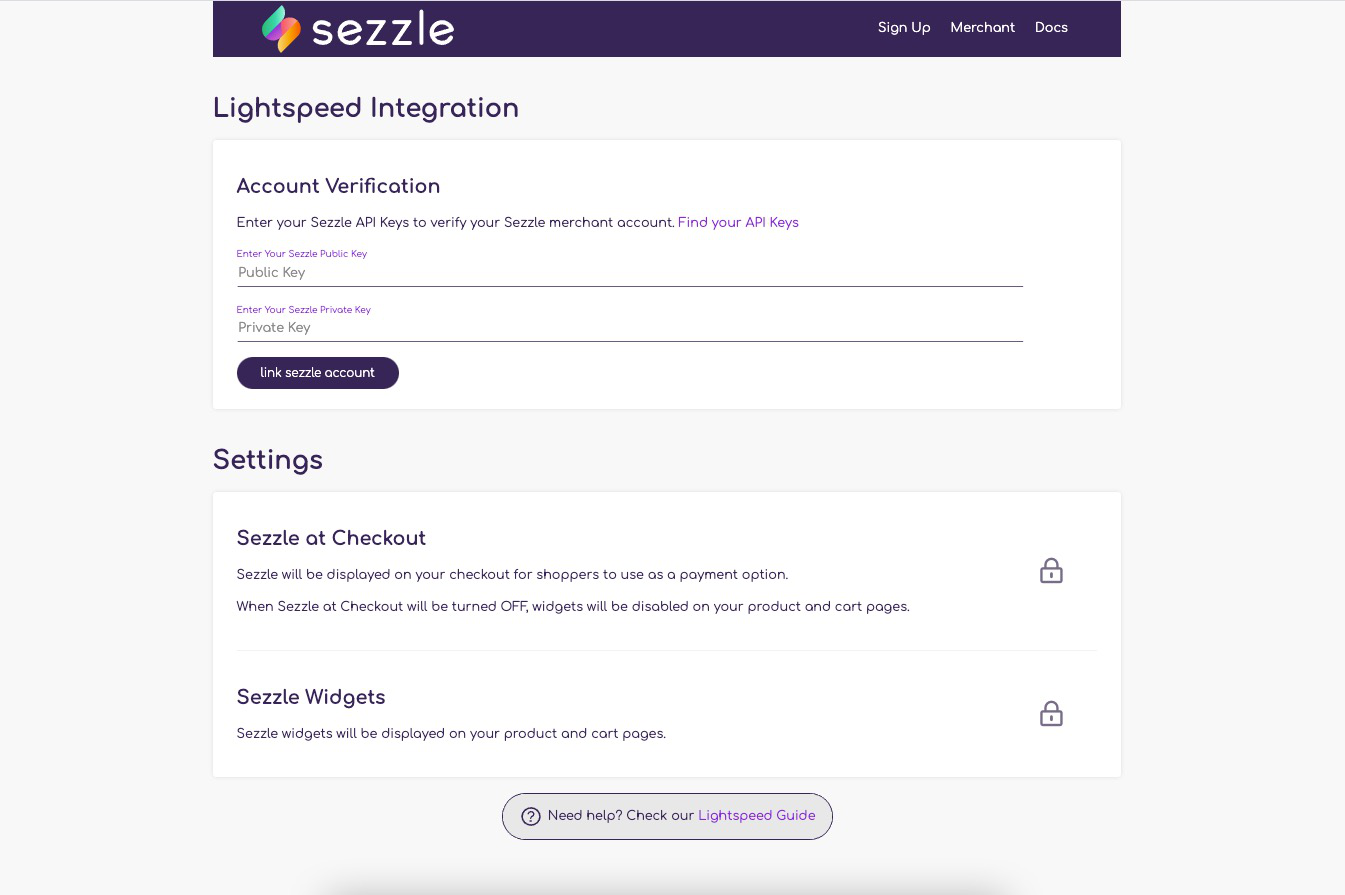
Configure Sezzle
- Navigate to the Sezzle App by clicking on
Go to Applocated atApps>Purchased Apps>Sezzle - Copy your Public Key and Private Key from your Sezzle Merchant Dashboard
- Paste them into the corresponding fields
- Click on
link sezzle accountto link your Sezzle account with your Lightspeed storeThe messageAccount successfully linkedis displayed when the account is verified
Settings
Sezzle at Checkout
Sezzle at Checkout
Toggle the 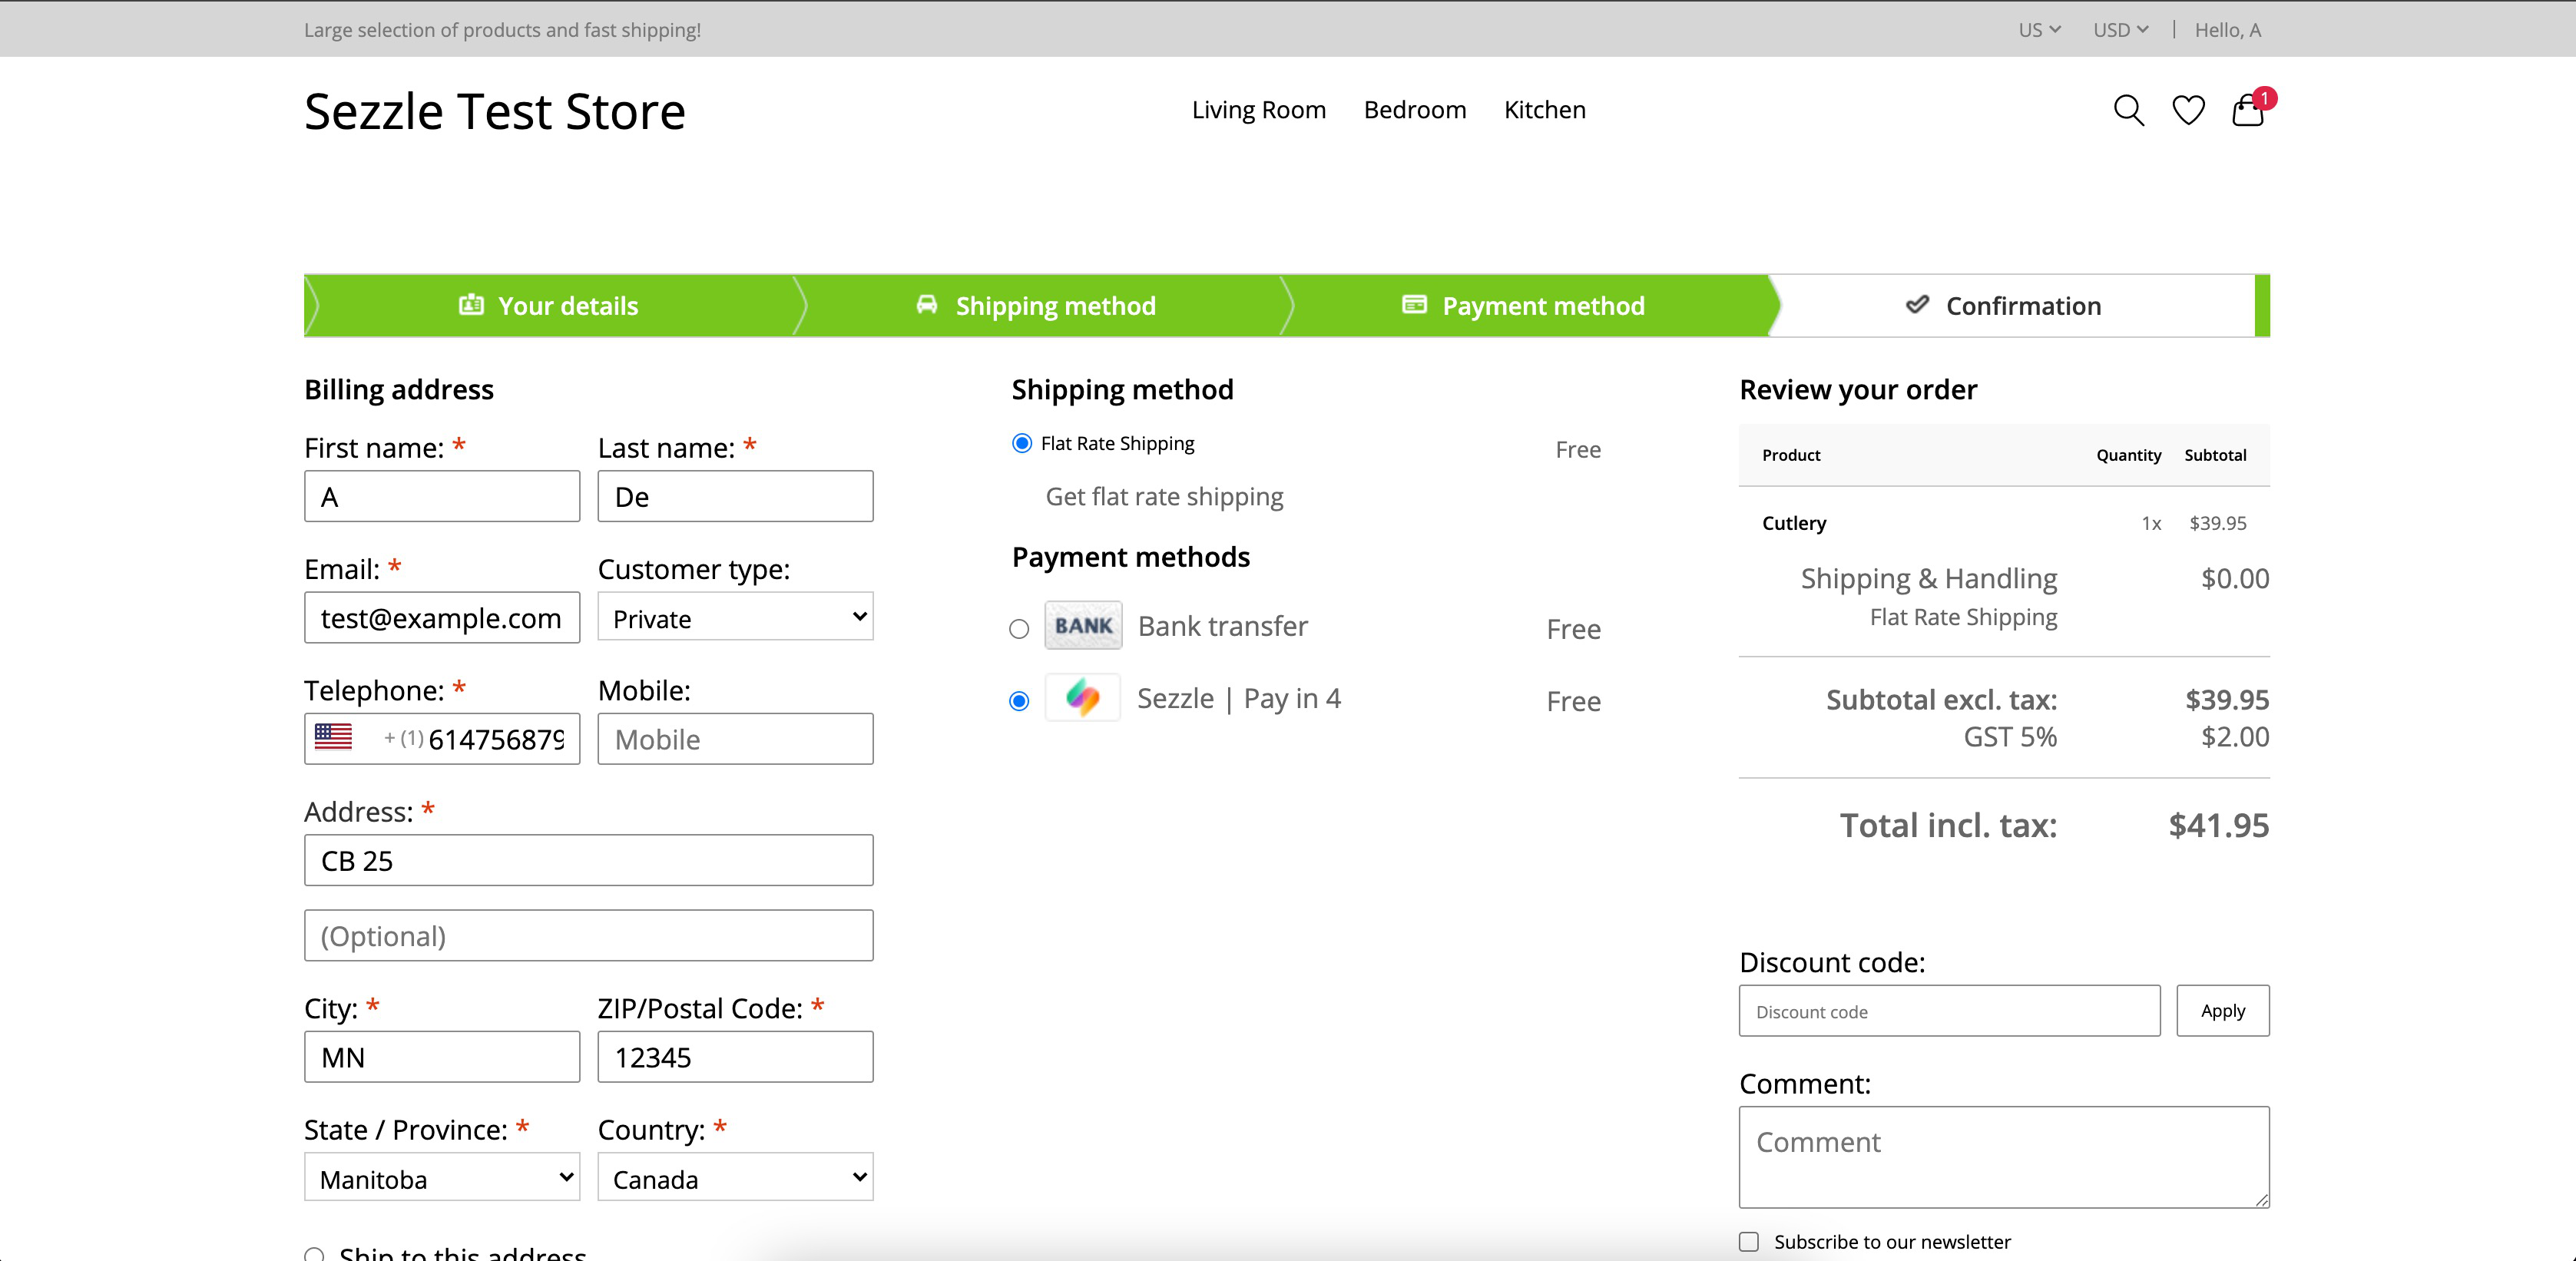
Sezzle at Checkout checkbox to enable (On) or disable (Off) Sezzle as a payment option in the checkout page.Sezzle Widgets
Sezzle Widgets
Toggle the 
Sezzle Widgets checkbox to enable (On) or disable (Off) Sezzle on-site messaging widget in the PDP and Cart pages.Payment Refund
-
In your Lightspeed back office, go to
Orders>Orders - Select the order to be refunded
-
Click
Add Credit Invoice - Select the item and enter the quantity
-
Ensure that
Status=Not Paid -
Click
Add -
Cancelling a Paid order will also refund the payments for the Paid Invoices
On Successful Refund
- An invoice with the status of
Not Paidwill be created in theOrders > Invoicessection. - The Order Status will be displayed as
Refundedin your Sezzle Merchant Dashboard.
- An invoice with the status of