
Zoey

This guide describes how to integrate Sezzle into your Zoey website so that you can provide Sezzle as a payment option for your customers. After integrating Sezzle, your Zoey site will:

  • offer Sezzle as a payment option on the checkout page.
  • refund Sezzle payments from your Zoey order management system.
  • authorize and capture payments.

Integration Steps Overview

  1. Install and configure the Sezzle Zoey extension
  2. Validate the integration

Before You Begin

  1. You should have a Sezzle merchant account.
    • Please visit our signup page if you don't have an account.
  2. Make sure you have the following Sezzle details handy.
  3. Familiarize yourself with the transaction flow when buying with Sezzle.

Install the Sezzle Zoey Extension

Admin Configuration

  1. Go to Set-up > Payment Methods > Sezzle.
  2. Click Configure. zoey-payment
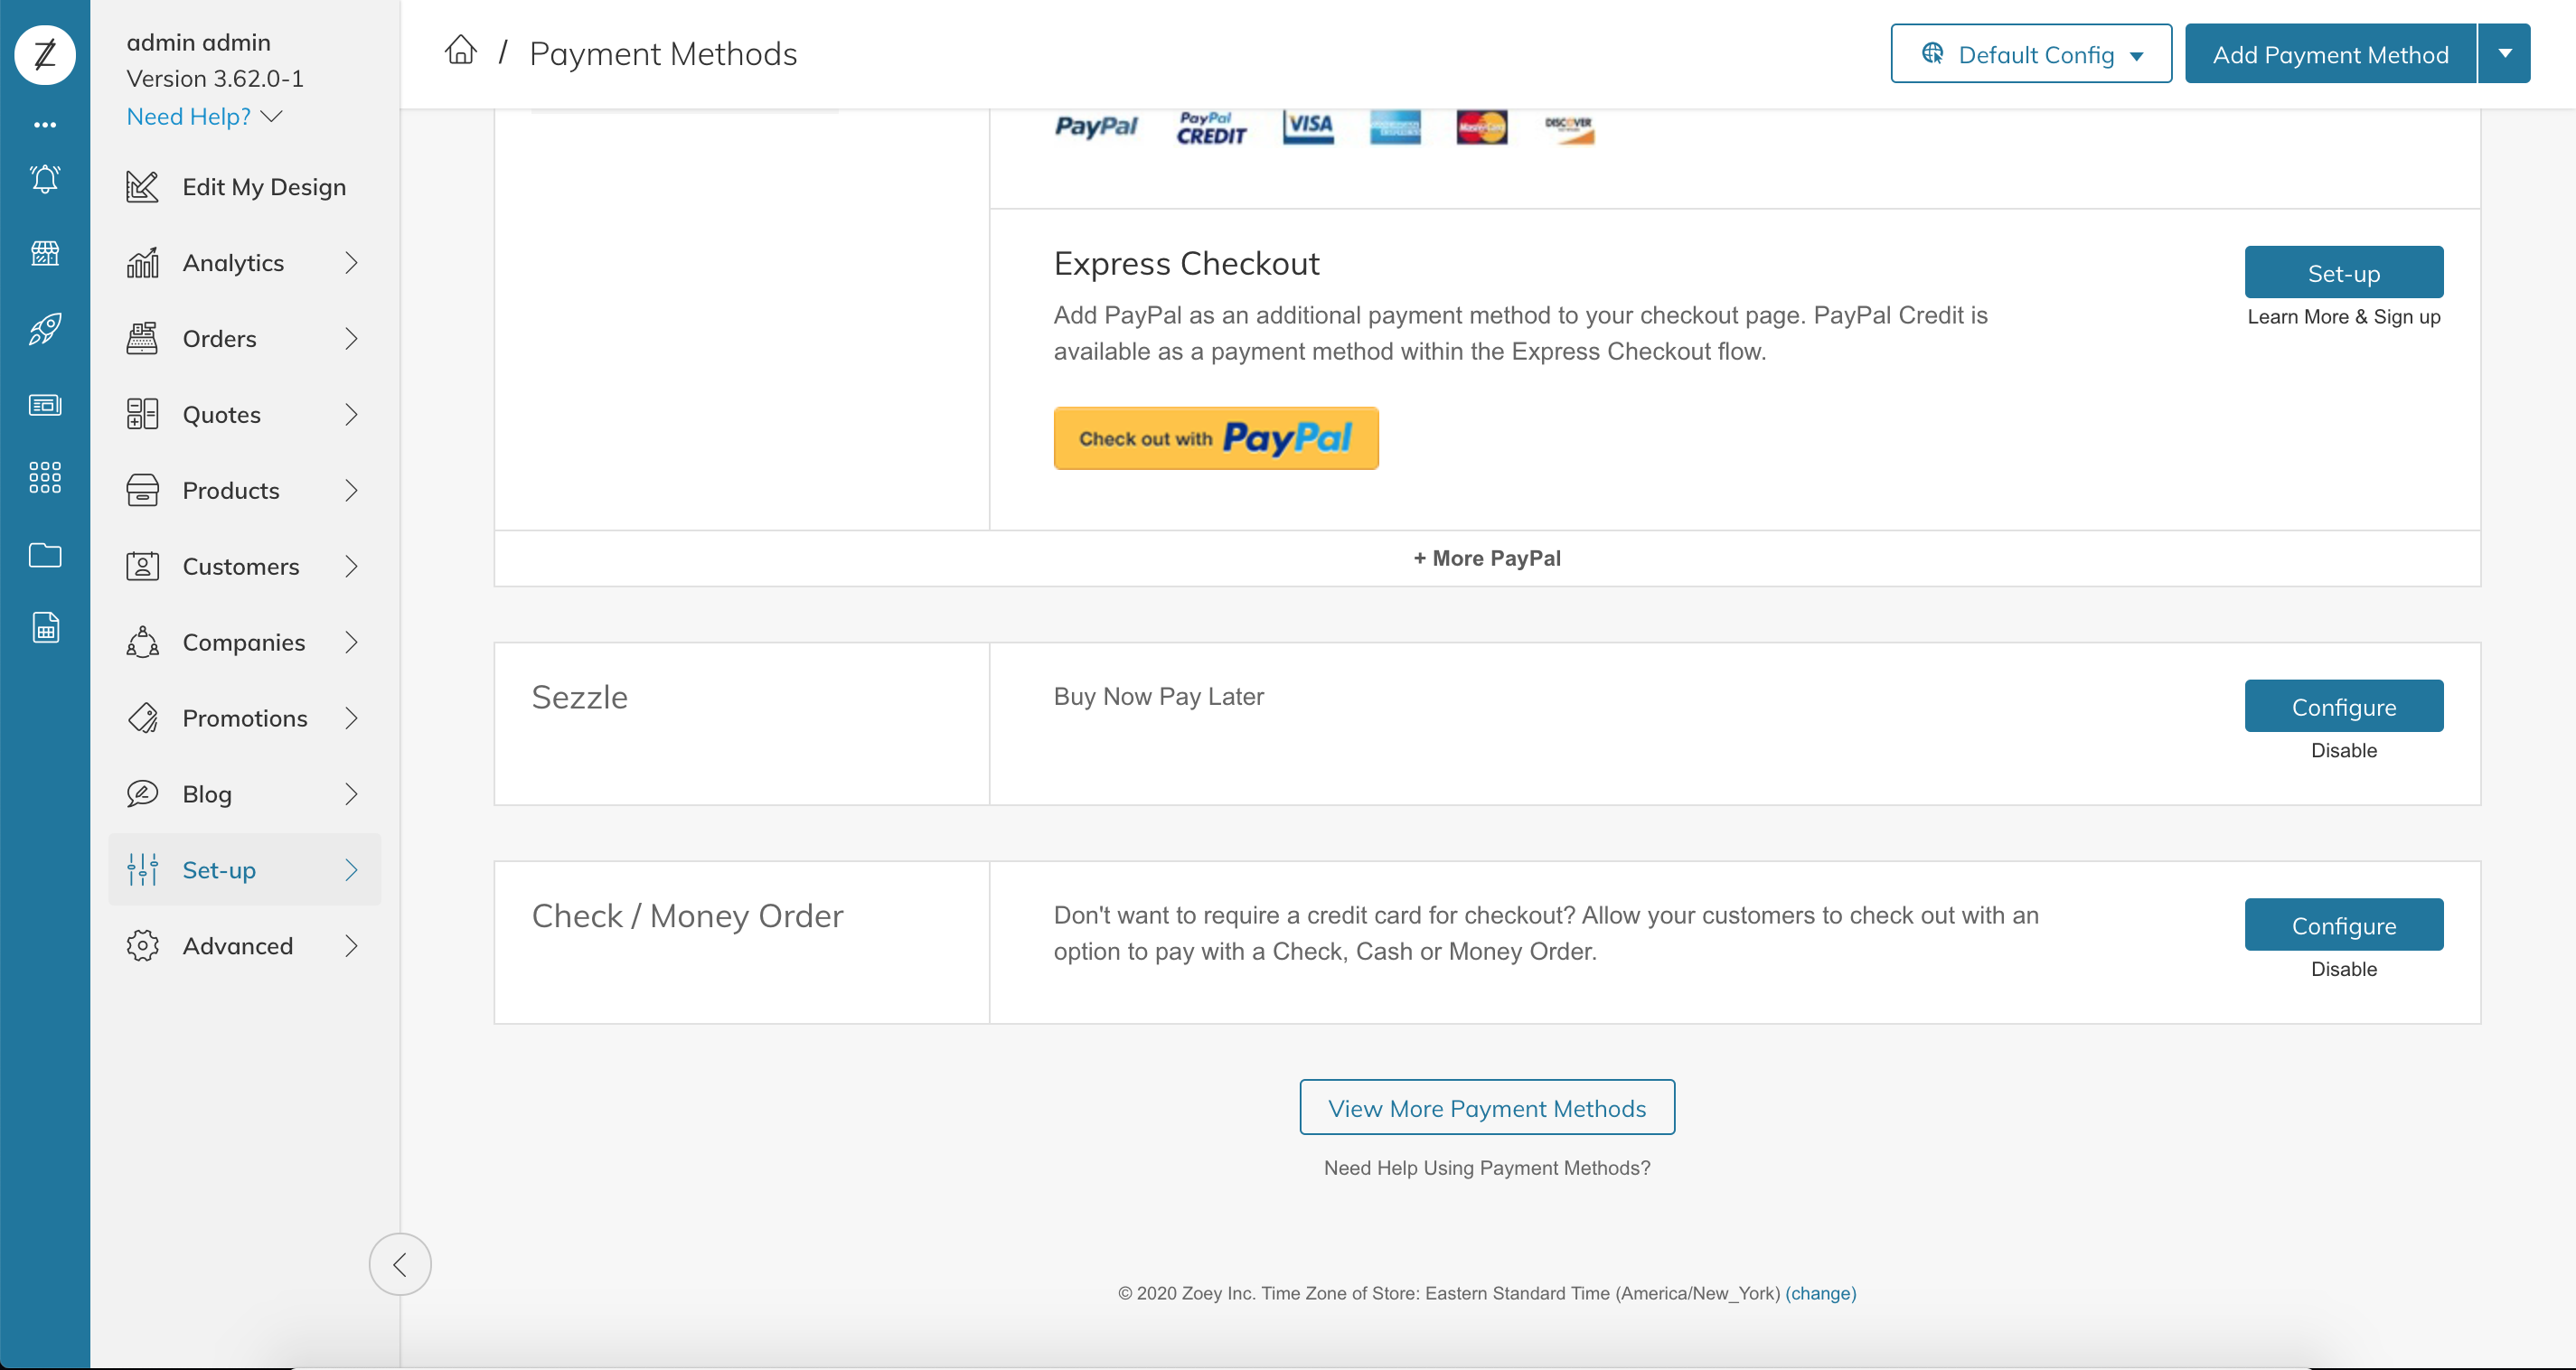
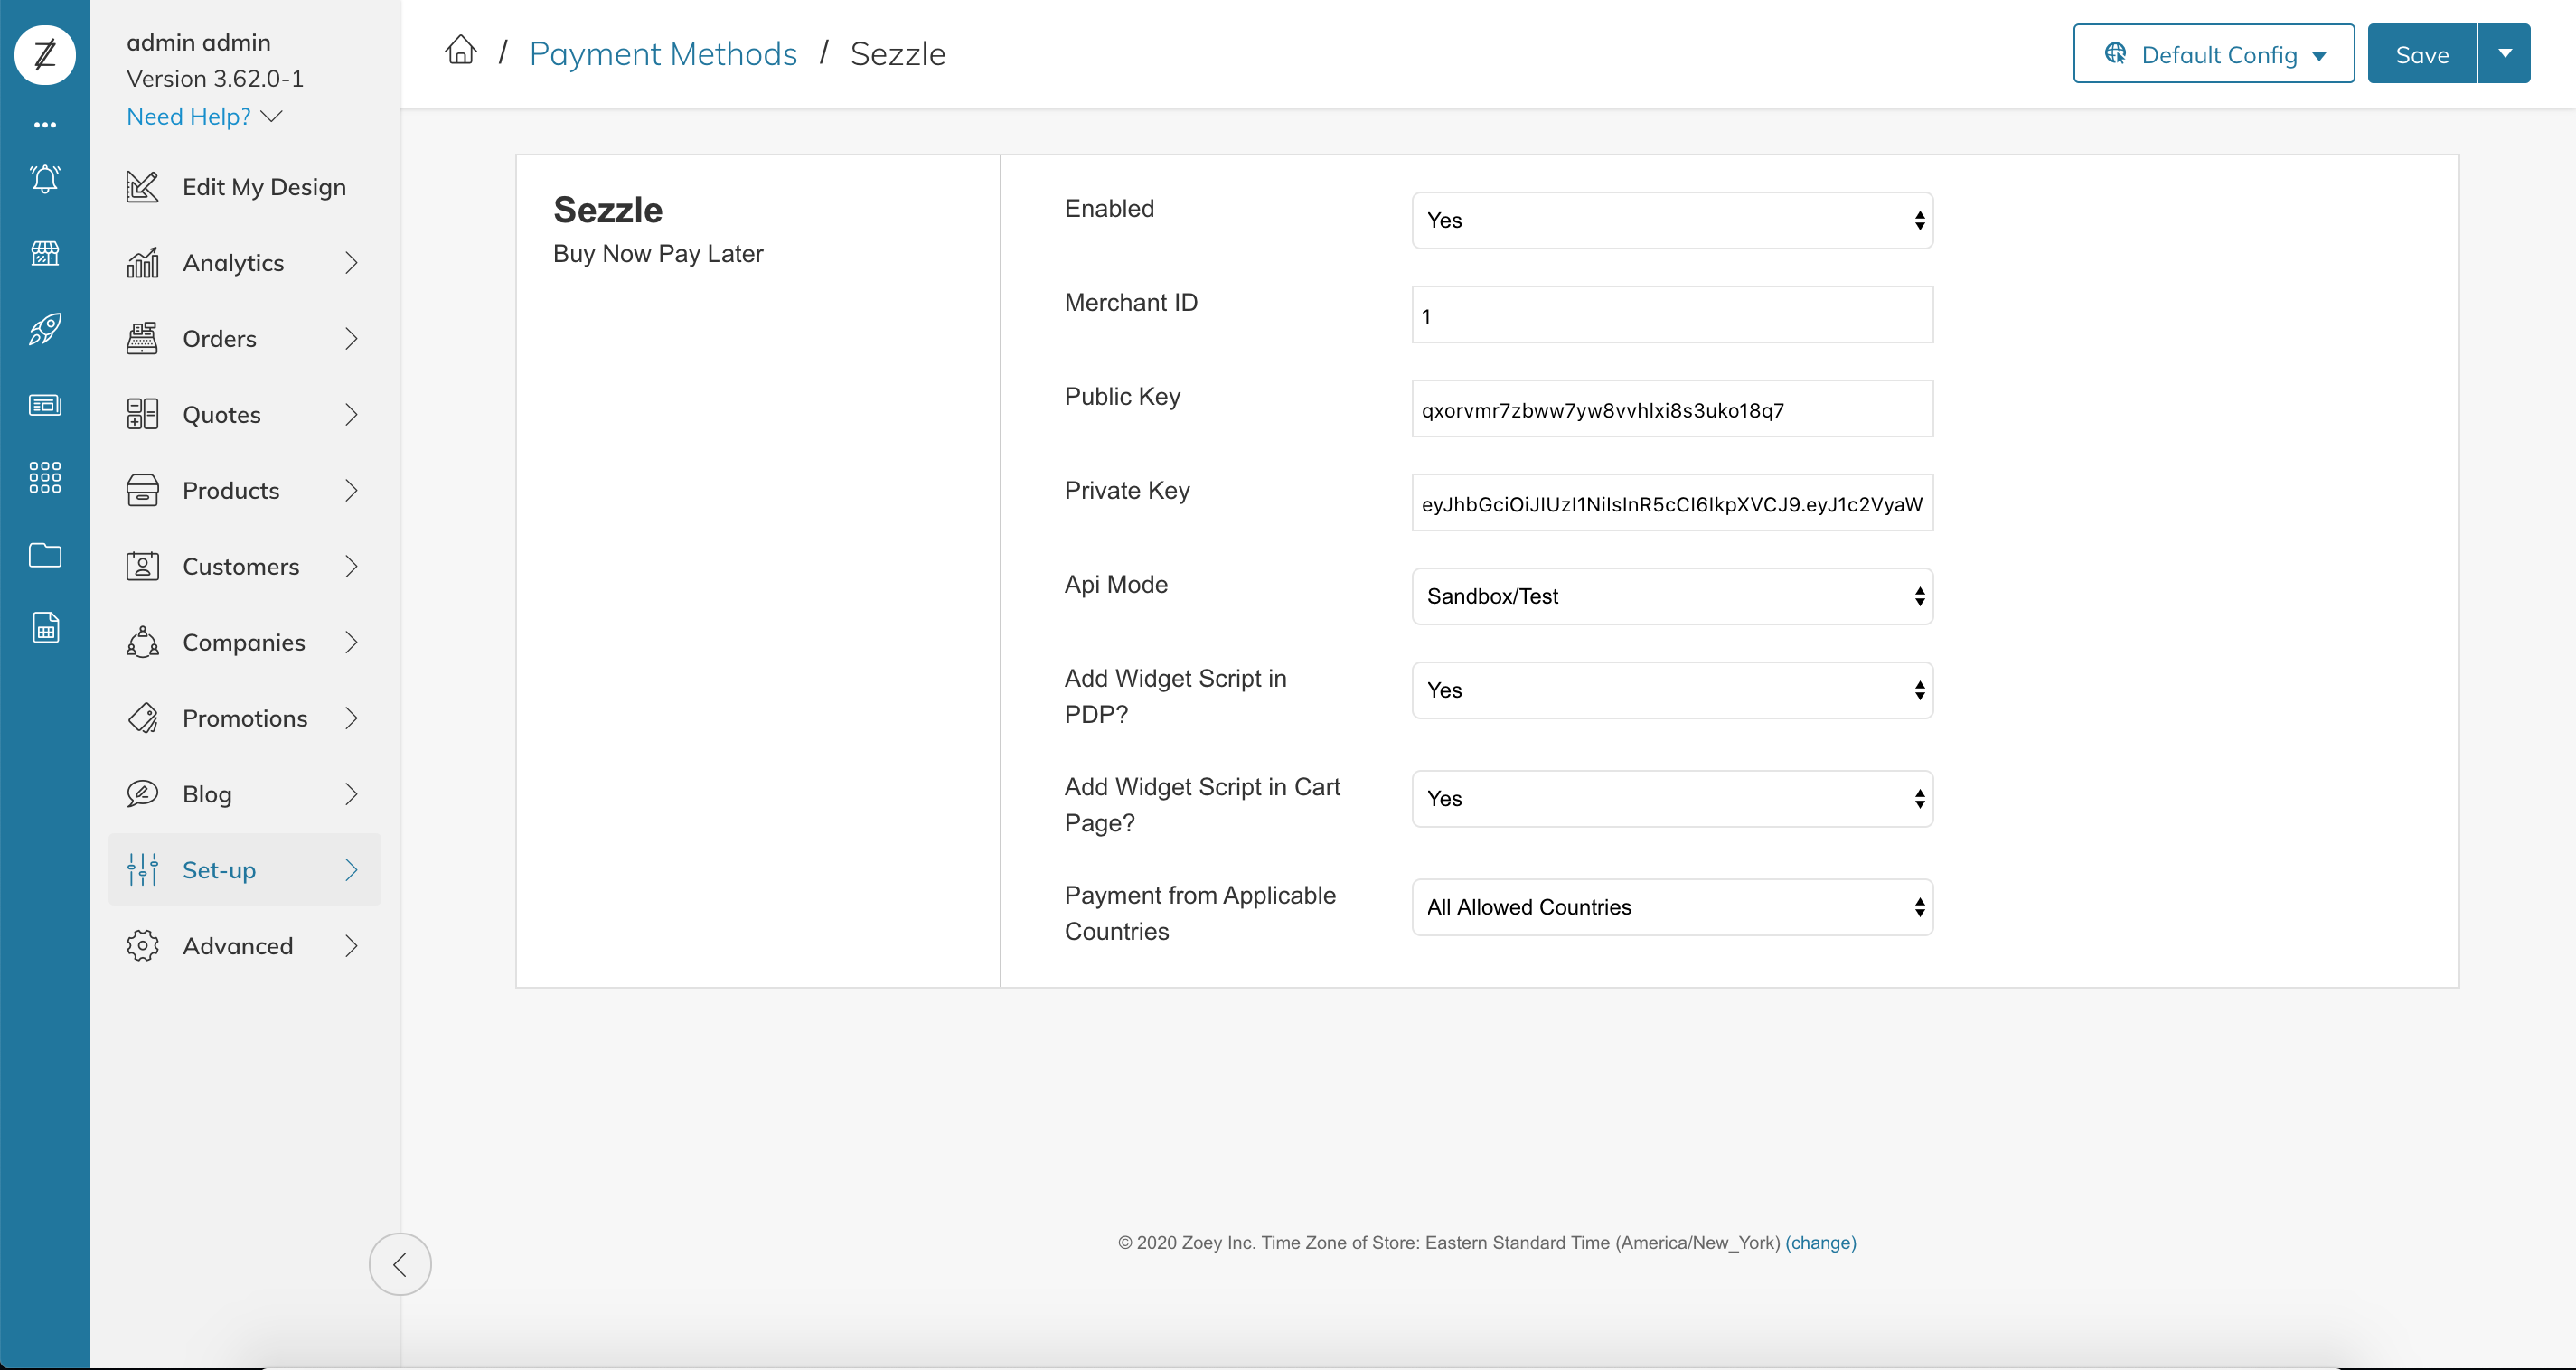
  3. Configure the extension as follows:
    1. Set Enabled to Yes.
    2. Copy your Merchant ID from your Sezzle Merchant Dashboard, and paste it into the corresponding field in the Sezzle configuration page of your Zoey admin.
    3. Copy your Public Key and Private Key from your Sezzle Merchant Dashboard, and paste them into the corresponding fields in the Sezzle configuration page of your Zoey admin.
    4. If you want the widget script added to the Product Display Page, set Add Widget Script in PDP to Yes
    5. If you want the widget script added to the Cart Page, set Add Widget Script in Cart Page to Yes
    6. Set Payment from Applicable Countries to Specific Countries.
    7. Set Payment from Specific Countries to United States or Canada as applicable.
    8. Save the configuration. zoey-pay-fields
    9. Click Advanced/Refresh Your Store.
    10. Installation is complete.

Validate

Step through a test checkout to validate the integration is properly installed.